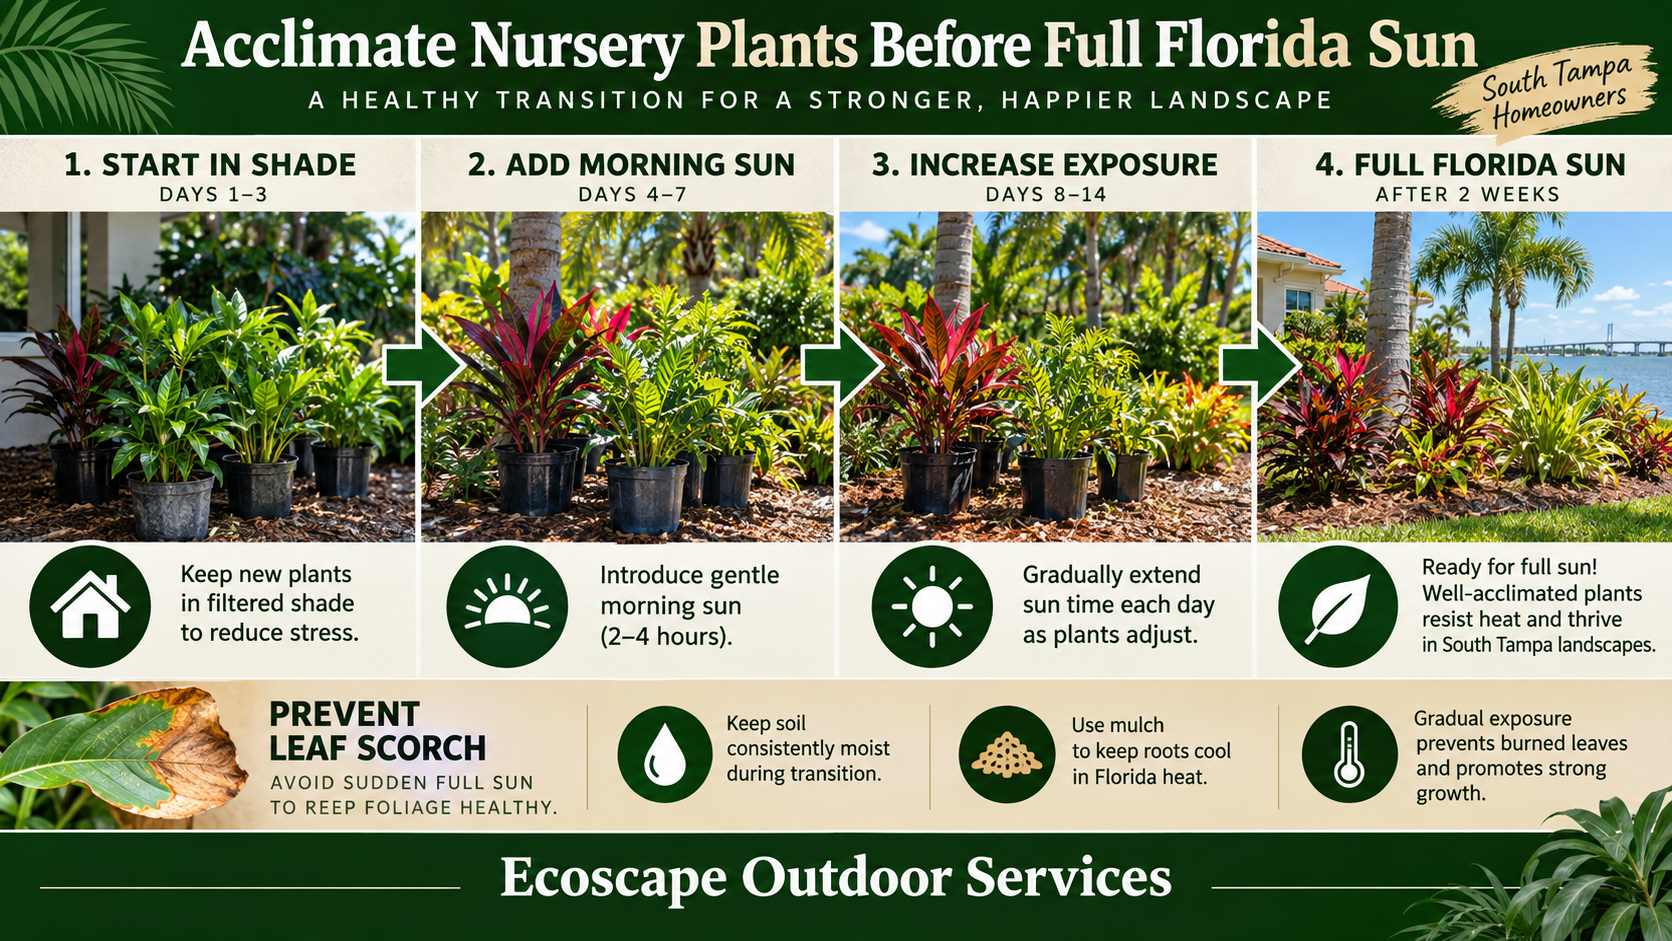
Acclimate Nursery Plants Before Full Florida Sun
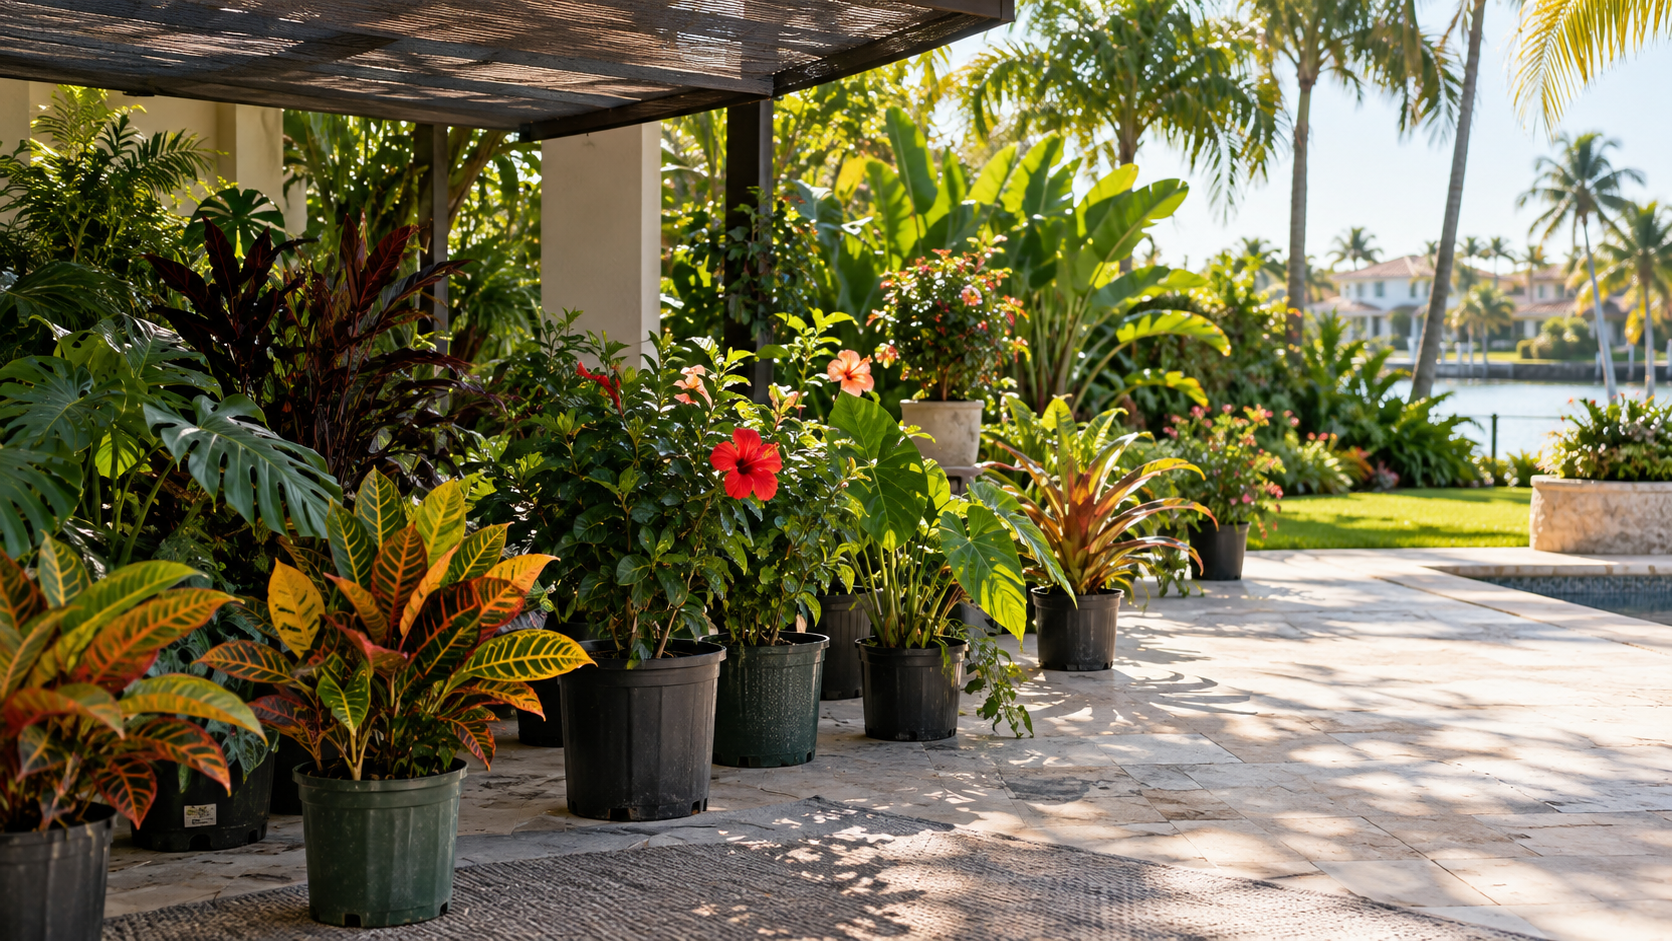
Nursery Conditions Change the Plant
A plant labeled for full sun may have grown beneath shade cloth, close spacing, or protected greenhouse conditions before purchase. Moving it directly into an exposed South Tampa bed can scorch leaves within days. The species may tolerate sun after adjustment, yet its current foliage is not prepared for the sudden increase in heat, light, and wind. Acclimation gives new growth time to adapt before permanent installation.
Ask How the Plant Was Grown
Before leaving the nursery, ask whether the plant stood in full sun, filtered light, or deep shade. Inspect both sides of the foliage for pests, spotting, bleaching, and old scorch. Check root moisture and confirm the container drains. Group plants by their current exposure rather than by label alone. A croton grown outdoors in open sun needs less transition than the same cultivar displayed beneath dense overhead fabric.
Increase Exposure in Stages
Place the plant in bright filtered shade for the first stage, protected from harsh afternoon sun and strong wind. Gradually add direct morning light, then extend exposure as the foliage remains stable. The transition often takes several days to two weeks, depending on species, season, container size, and prior conditions. Avoid changing shade, watering, and planting depth all at once because multiple stresses make symptoms harder to diagnose.
Read the Leaves During Transition
Sun scorch usually appears as bleached, tan, or crisp tissue on the most exposed leaves. Wilting that improves after shade may signal heat stress, while persistent collapse may involve dry roots, damaged roots, or disease. Old scorch will not turn green again. Judge success by stable foliage and healthy new growth. Move the plant back one exposure stage if damage spreads, then resume the transition more slowly.
Manage Water Without Saturating Roots
Containers dry faster as light and wind increase, but automatic daily soaking can suffocate roots. Check the potting mix below the surface before watering and allow excess water to drain completely. Do not leave containers sitting in saucers of water. Water early enough for assessment during daylight. Once planted, irrigate the root ball and surrounding soil according to plant needs, drainage, rainfall, and establishment stage.
Install Into the Right Permanent Location
Acclimation does not make a shade plant suitable for relentless afternoon sun. Match the mature plant to the site’s actual exposure, reflected heat, salt, soil drainage, irrigation zone, and available space. Plant at the correct depth and keep mulch away from the stem or crown. Schedule installation during a milder part of the day, then check the plant after the first sunny afternoon and again several days later.
Plan the Transition With the Installation
Ecoscape Outdoor Services selects and installs plants for real South Tampa conditions, including sun angle, building reflection, waterfront exposure, drainage, and irrigation coverage. We account for nursery exposure before placing sensitive material into a finished bed. Property owners should photograph new plants on arrival and after one week. A careful transition reduces avoidable leaf damage and gives each plant a stronger start in its permanent location.