Clean Drip Irrigation Filters Before Emitters Lose Flow
Why Flow Drops
Drip emitters have small internal passages. Sand, sediment, and organic debris caught upstream restrict the water reaching a planting bed. A dirty filter is one possible cause when several emitters weaken together. A single dry plant also warrants a check for a kinked tube, disconnected fitting, damaged emitter, or incorrect placement. Extending the watering cycle before finding the restriction wastes water and leaves the original fault in place.
Inspect the Whole Zone
Run the zone briefly and compare several emitters at the beginning and end of the tubing. Look for leaks, crushed tubing, and water escaping at fittings. Check soil moisture beside affected root balls. Surface mulch often looks damp while the planting soil remains dry. Note whether the problem affects the entire bed or one branch. Check any filter indicator and consult the instructions for the installed filter model.
Shut Off and Depressurize
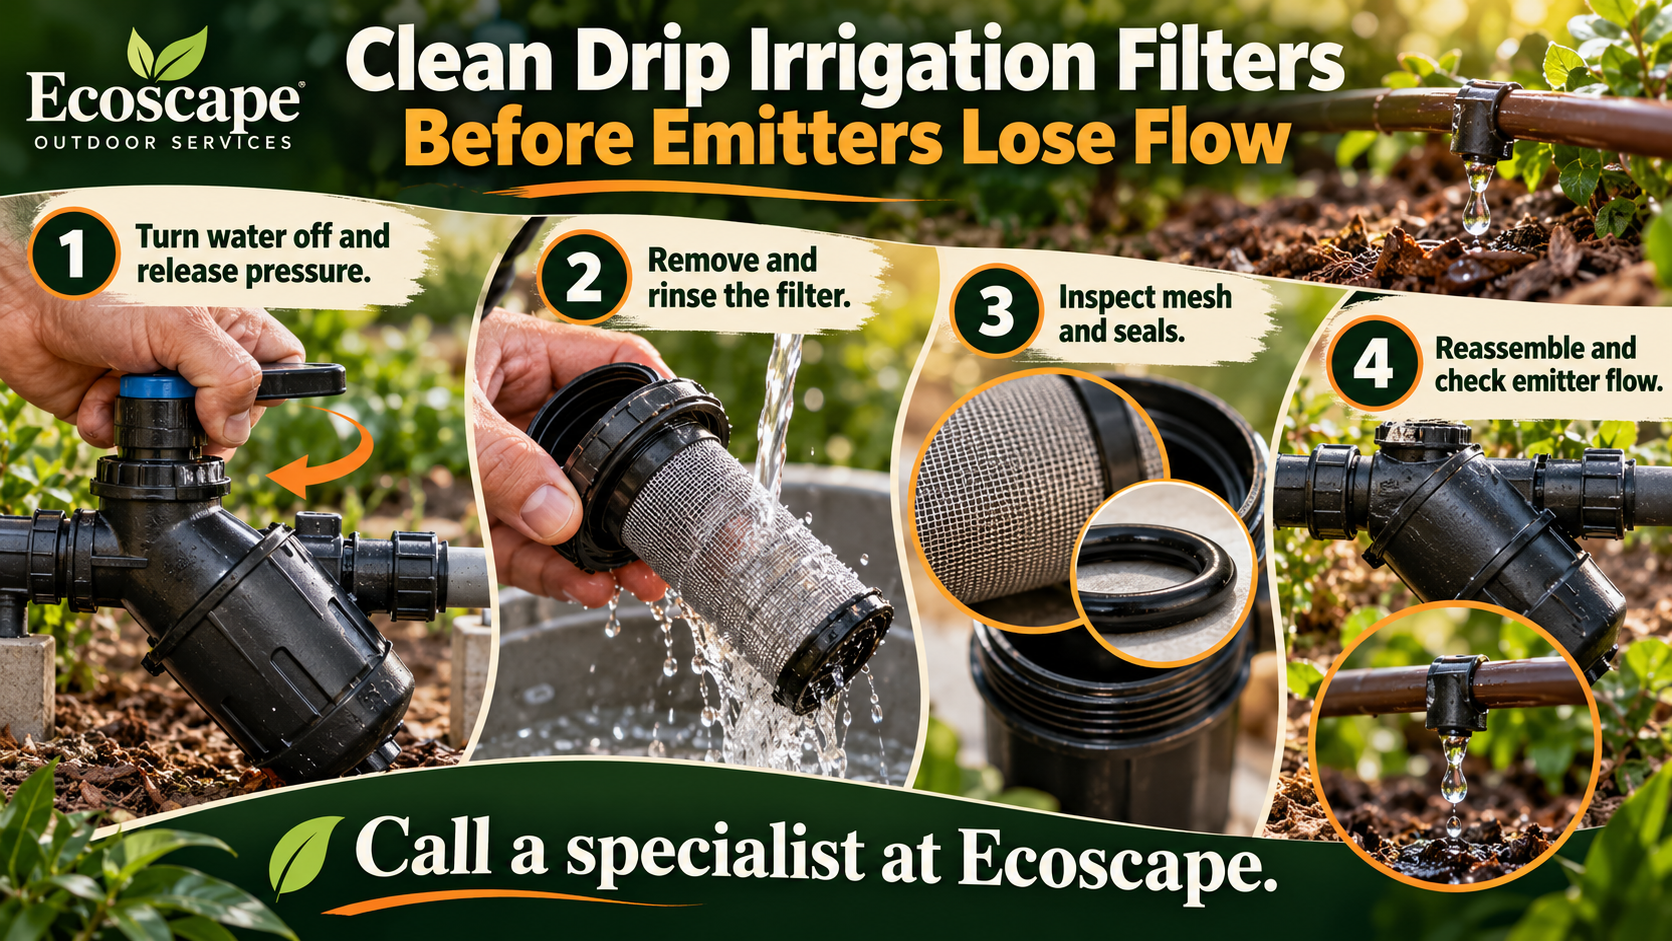
Turn off the controller zone and isolate its water supply before opening the filter. Release trapped pressure using the manufacturer's procedure. Do not loosen a pressurized housing. Keep dirt away from the open connection and place removed parts on a clean surface. Photograph the assembly before taking it apart. If the housing includes pressure regulation, preserve the correct component order and avoid adjusting its setting without the model instructions.
Clean Without Damaging the Screen
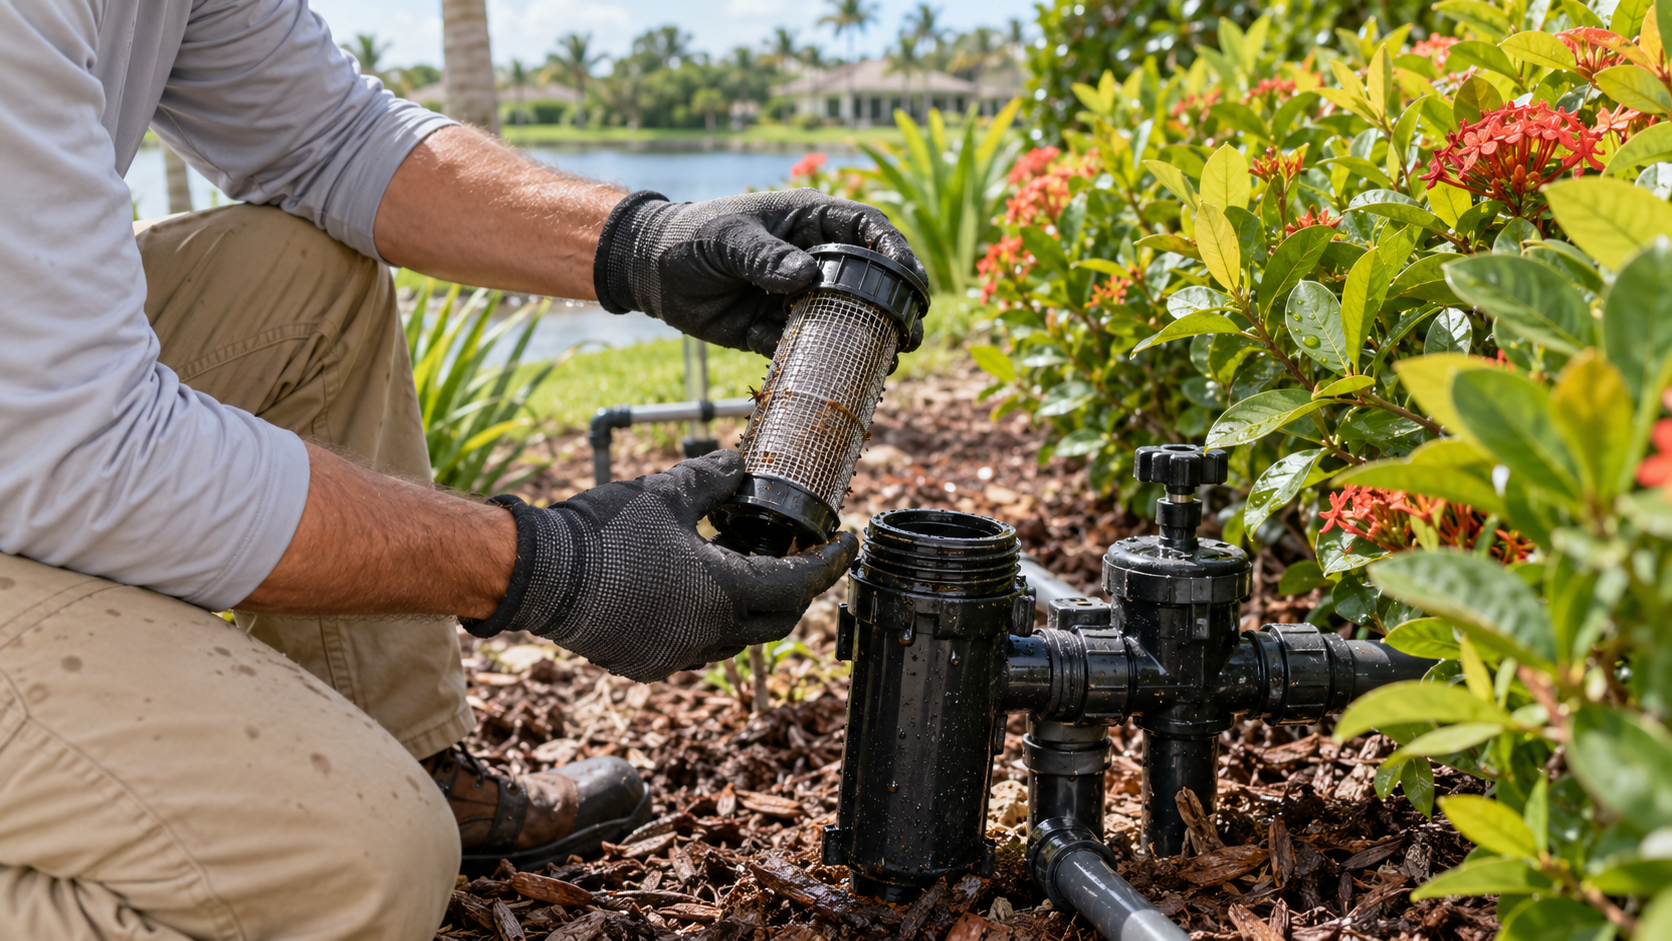
Remove the screen or disc element as directed. Rinse away loose debris with clean water and use only a cleaning method approved for the element. Do not force wire or sharp tools through fine mesh. Inspect for tears, crushed sections, mineral buildup, and damaged seals. A torn screen requires replacement with the specified filtration rating. Removing the screen permanently leaves emitters exposed to the debris the filter was installed to catch.
Reassemble and Test
Seat the element and seals correctly, then close the housing according to the instructions. Restore water slowly and inspect for leaks. Flush tubing through its designated flush points when appropriate, keeping soil out of open lines. Check emitter output again and confirm water reaches the root balls. A persistent whole-zone problem needs further evaluation of supply pressure, the valve, regulator, and tubing layout. Filter cleaning alone does not resolve every low-flow condition.
Check Results at the Plants
Return to the same plants after the repair and feel the planting soil again. Compare root-ball moisture with nearby soil instead of relying on wet mulch alone. Follow the existing establishment plan for new plants and adjust it only after evaluating distribution. Record the filter model and replacement element so future maintenance uses compatible parts. Keep irrigation notes with your landscape maintenance records. A short inspection after a repair gives a useful reference for later changes in flow or plant condition.
Set a Practical Inspection Routine
Check the filter after repairs, changes in water quality, or unexplained plant stress. Inspection frequency depends on the water source and debris load. Keep notes on buildup rather than assuming every system needs the same interval. Do not compensate for poor distribution with repeated fertilizer or extra watering. Ecoscape evaluates irrigation performance alongside planting conditions to identify the cause of uneven moisture. Call a specialist at Ecoscape.
Helpful Resource