Prevent New Sod Seams From Drying Out
Why Sod Seams Dry First
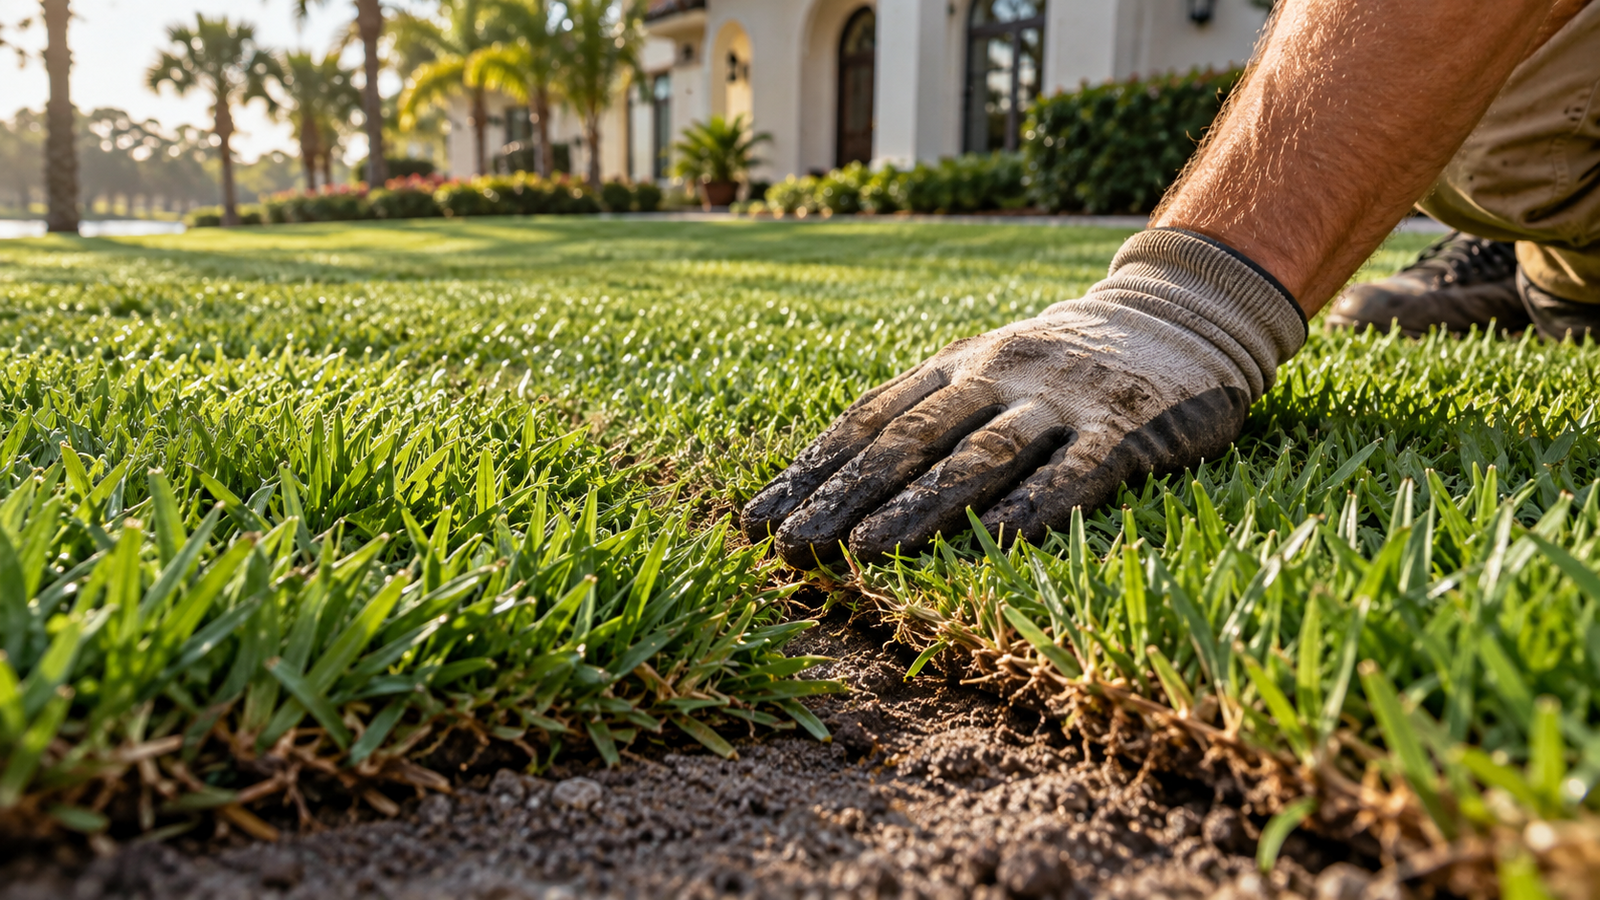
Fresh sod has shallow, recently cut roots, so every piece depends on moisture in the sod layer and the prepared soil below. Seams lose water faster because two exposed edges meet there. Florida sun, wind, and reflected heat from driveways can dry those edges while the center of each piece still looks green. The first warning is often a thin blue-gray or tan line. Without correction, the edges shrink, curl, and leave gaps that are harder for roots and runners to bridge.
Start With Tight, Staggered Placement
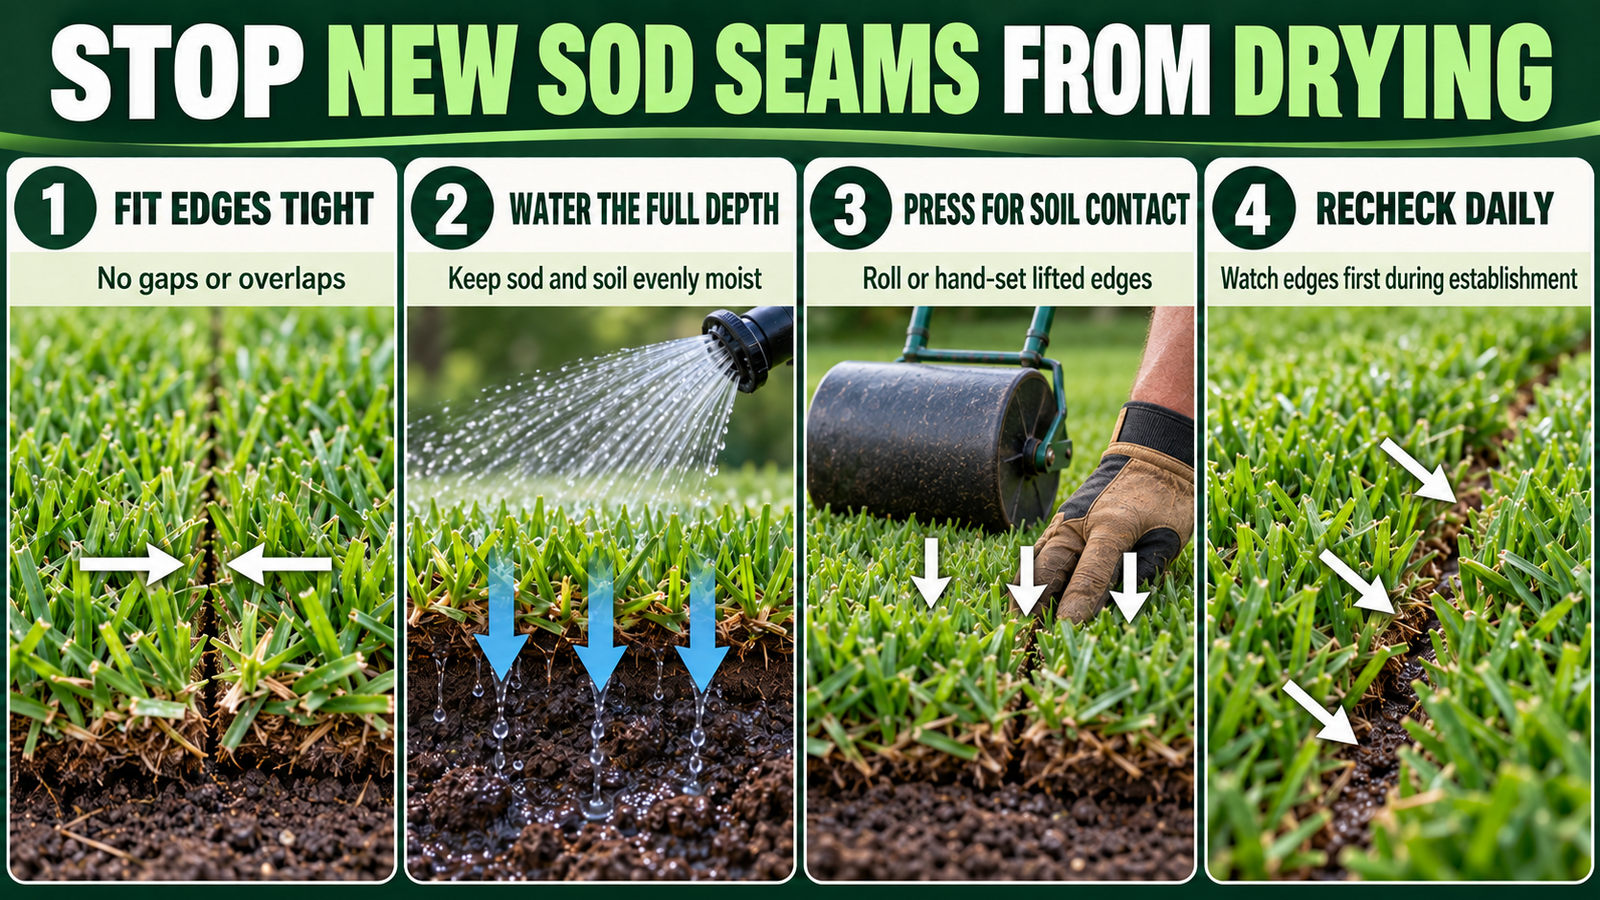
Lay sod promptly after delivery on smooth, lightly moistened soil. Fit each piece snugly against its neighbors without stretching it, and stagger end joints like brickwork so long seams do not line up. Trim cleanly around curves, sprinkler heads, and beds instead of leaving narrow scraps that dry quickly. If a gap is visible during installation, reset the piece before moving on. Do not fill wide gaps with loose grass clippings or mulch. Proper contact between sod edges is the first defense against moisture loss.
Firm the Sod Against the Soil
Air pockets under a seam interrupt capillary moisture and keep new roots from reaching the soil. After placement, press edges by hand and use a suitable lawn roller when site conditions allow. The goal is full contact, not crushing saturated soil. Walk the lawn carefully and feel for rocking pieces or hollow areas. Correct low spots with prepared soil beneath the sod rather than piling soil over the grass. Keep heavy equipment and repeated foot traffic off the new lawn while the root zone is soft.
Water the Entire Sod Depth
Water immediately after installation, then lift a corner in several locations to confirm moisture has reached the underlying soil. A quick surface mist can make blades look wet while seams remain dry underneath. Check sunny edges, slopes, and the far ends of irrigation zones more often because coverage and drying rates vary. During early establishment, keep the sod and shallow soil consistently moist without creating puddles or runoff. As roots begin to hold, reduce frequency gradually and water more deeply according to weather and local rules.
Correct Dry Lines Early
Inspect seams each morning and again after hot, windy afternoons. If a line is drying while nearby turf remains moist, confirm sprinkler overlap before simply extending every zone. A hose with a gentle shower nozzle can temporarily target a missed edge, but it should not hide a coverage defect. Press down any lifted corner after moistening it. Replace pieces that are brittle, decomposing, or unable to recover. Early action can save a seam before the sod contracts enough to expose bare soil.
Avoid Common Establishment Mistakes
Do not flood the whole yard to fix one dry strip. Constant saturation can limit oxygen around new roots, soften the grade, and invite disease pressure. Avoid mowing before the sod resists a gentle tug, and never turn a mower sharply on weak seams. Do not apply fertilizer to force color before the lawn is rooted and ready. Also check whether runoff from a slope, compacted soil, or a misaligned sprinkler is causing the repeated problem. Moisture should be verified in the soil, not judged only by leaf color.
When to Bring in Ecoscape
Continue checking seam moisture and rooting until the entire lawn holds firmly, then transition toward a normal Florida watering schedule. If gaps are widening, coverage is uneven, or large sections are not rooting, the cause may involve installation, grade, irrigation, or sod quality. Ecoscape Outdoor Services can assess the lawn, test sprinkler coverage, and recommend the right correction for the affected areas. Schedule a free quote with Ecoscape if you are planning new sod, or book an on-site assessment before dry seams become permanent bare lines.