Restore Paver Joint Sand Before Pavers Begin to Shift
Understand why joint sand matters
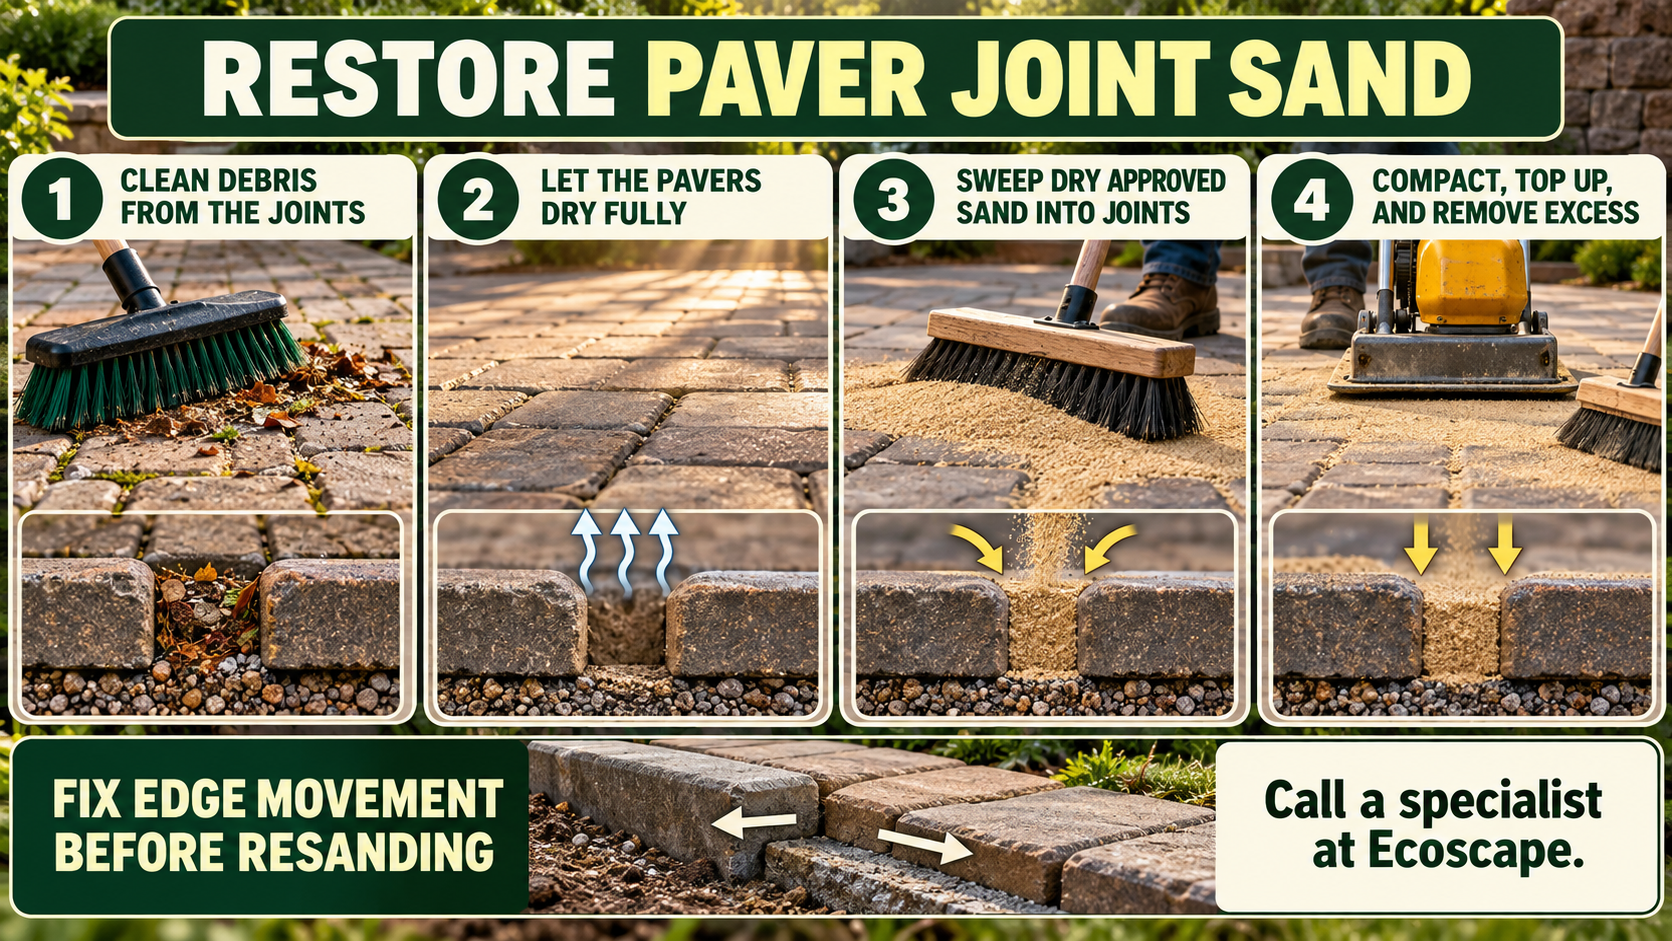
Interlocking concrete pavers rely on filled joints and firm edge restraint. Joint sand helps transfer loads and limits movement between neighboring units. Rain, runoff, pressure washing, traffic, ants, and poor drainage slowly remove material. Low joints collect debris and allow pavers to loosen. Early maintenance costs less than resetting a wide settled or spreading section later.
Inspect the joints and pavement edges
Walk the surface in dry daylight. Look for deep joints, rocking units, spreading lines, sunken areas, and pavers rotating near the perimeter. Pay close attention below roof runoff, beside pool decks, along driveway turns, and near broken edge restraint. Measure the depth in several locations. CMHA guidance calls for prompt attention when joint sand drops more than one-half inch.
Correct movement before adding sand
New sand does not repair a failed edge, washed-out base, drainage path, or settled bedding layer. Reset loose pavers and restore edge restraint before filling joints. Redirect concentrated water flowing across the surface. Investigate repeated sand loss in the same location. Filling an unstable section hides the symptom for a short period while movement continues below.
Clean the joints and let them dry
Remove leaves, soil, weeds, and loose debris without damaging paver edges. Use controlled cleaning pressure. Strong concentrated spray removes sound joint material and scars the paver face. Allow the surface and open joints to dry fully before adding dry sand. Damp joints cause clumping and block material from reaching the proper depth.
Choose material for the existing system
Use dry joint sand approved for the exact concrete paver system. Standard masonry sand works for many conventional installations when the paver manufacturer or installer permits it. Polymeric products require clean joints, specific depth, careful removal of surface dust, and exact activation steps. Do not spread polymeric sand as a shallow top layer over unknown or contaminated joint material.
Fill, compact, and finish the joints
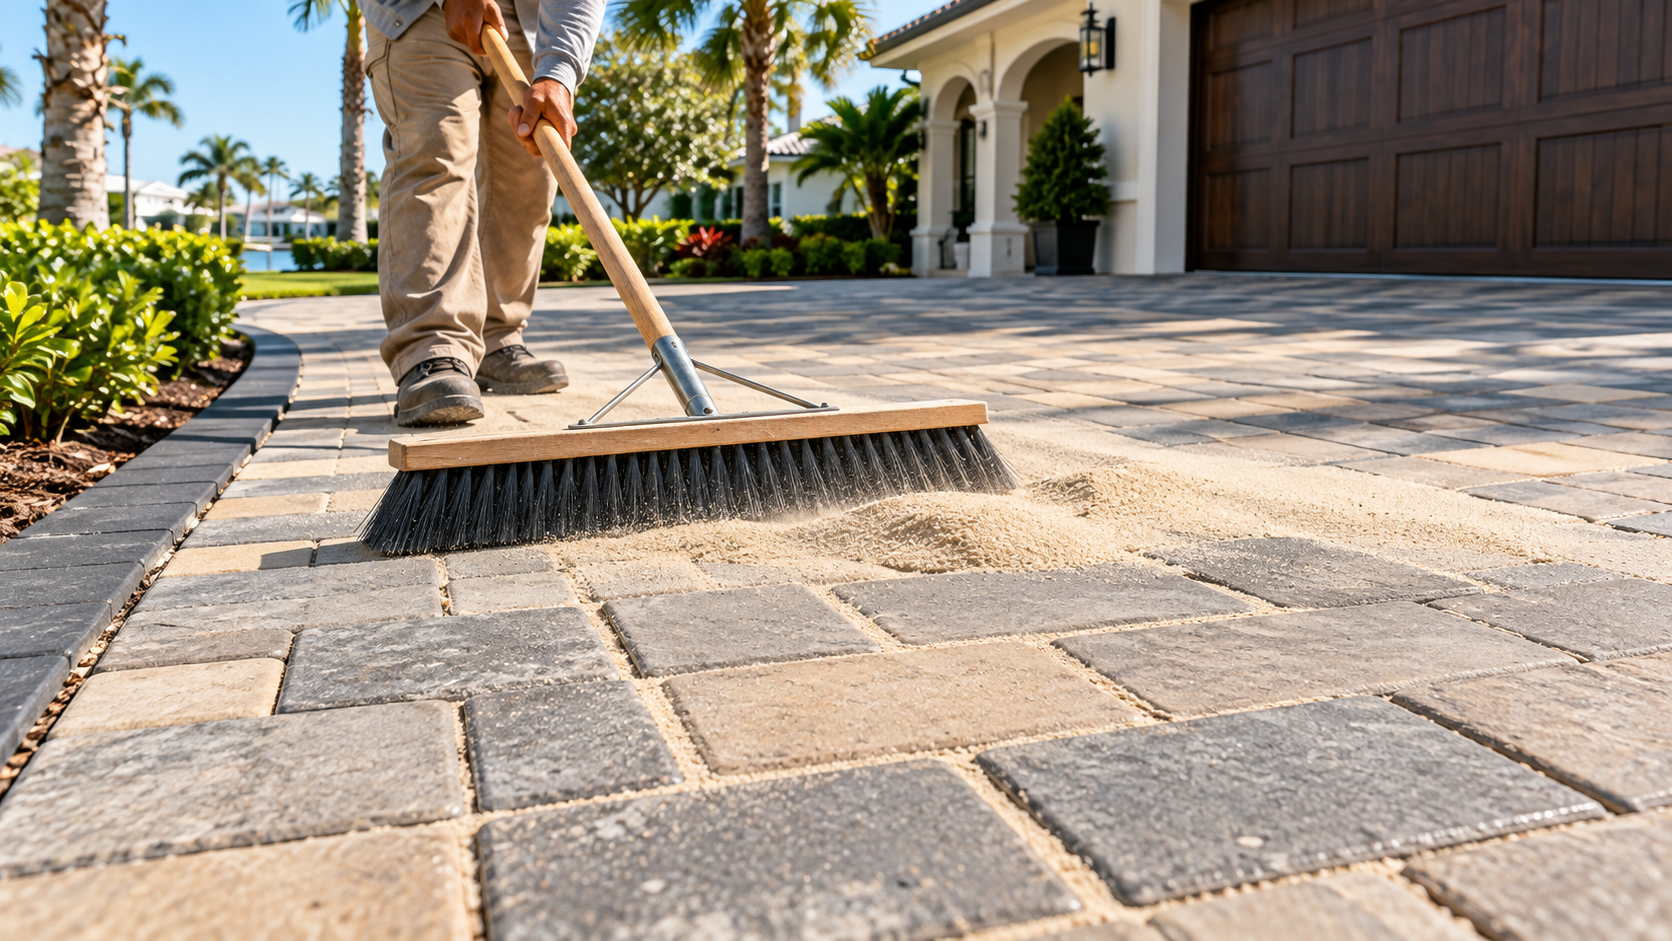
Sweep sand diagonally across the pattern with a wide push broom. Fill joints to the bottom of the paver chamfers. Compact the surface with suitable equipment and protection for the paver finish. Add more sand after material settles. Remove every loose grain from the surface before rain, sealing, or polymer activation. Block traffic until the selected system reaches its required finish condition.
Schedule repair before shifting spreads
Loose edges, deep settlement, repeated washout, widespread weeds, and unknown polymeric residue need an on-site review. Ecoscape Outdoor Services will inspect the pavement, drainage, edge restraint, and joint condition before recommending resanding or repair. Schedule a free quote before a small unstable area spreads. Helpful reference: CMHA pavement maintenance guidance.