Seal Concrete Pavers Without Trapping Moisture or Haze
Start with the reason for sealing
A paver sealer is a finish system, not a repair for every hardscape problem. The right product enhances color, reduces surface absorption, and often helps stabilize properly installed joint sand. The wrong product or rushed preparation leaves uneven sheen, trapped whitening, slippery areas, and difficult future removal. Decide whether the goal is a natural look, color enhancement, stain resistance, joint stabilization, or a combination before choosing a product.
Identify the surface and old coatings
Confirm the paving material is concrete rather than clay brick, natural stone, or porcelain. Look for an existing coating by placing a few drops of water in several areas. Beading or uneven darkening suggests different absorption across the surface. Record any known sealer brand and application history. New material, previously sealed pavers, and an unknown glossy coating require different preparation. Never assume a new coat will bond to the old one.
Clean stains and efflorescence first
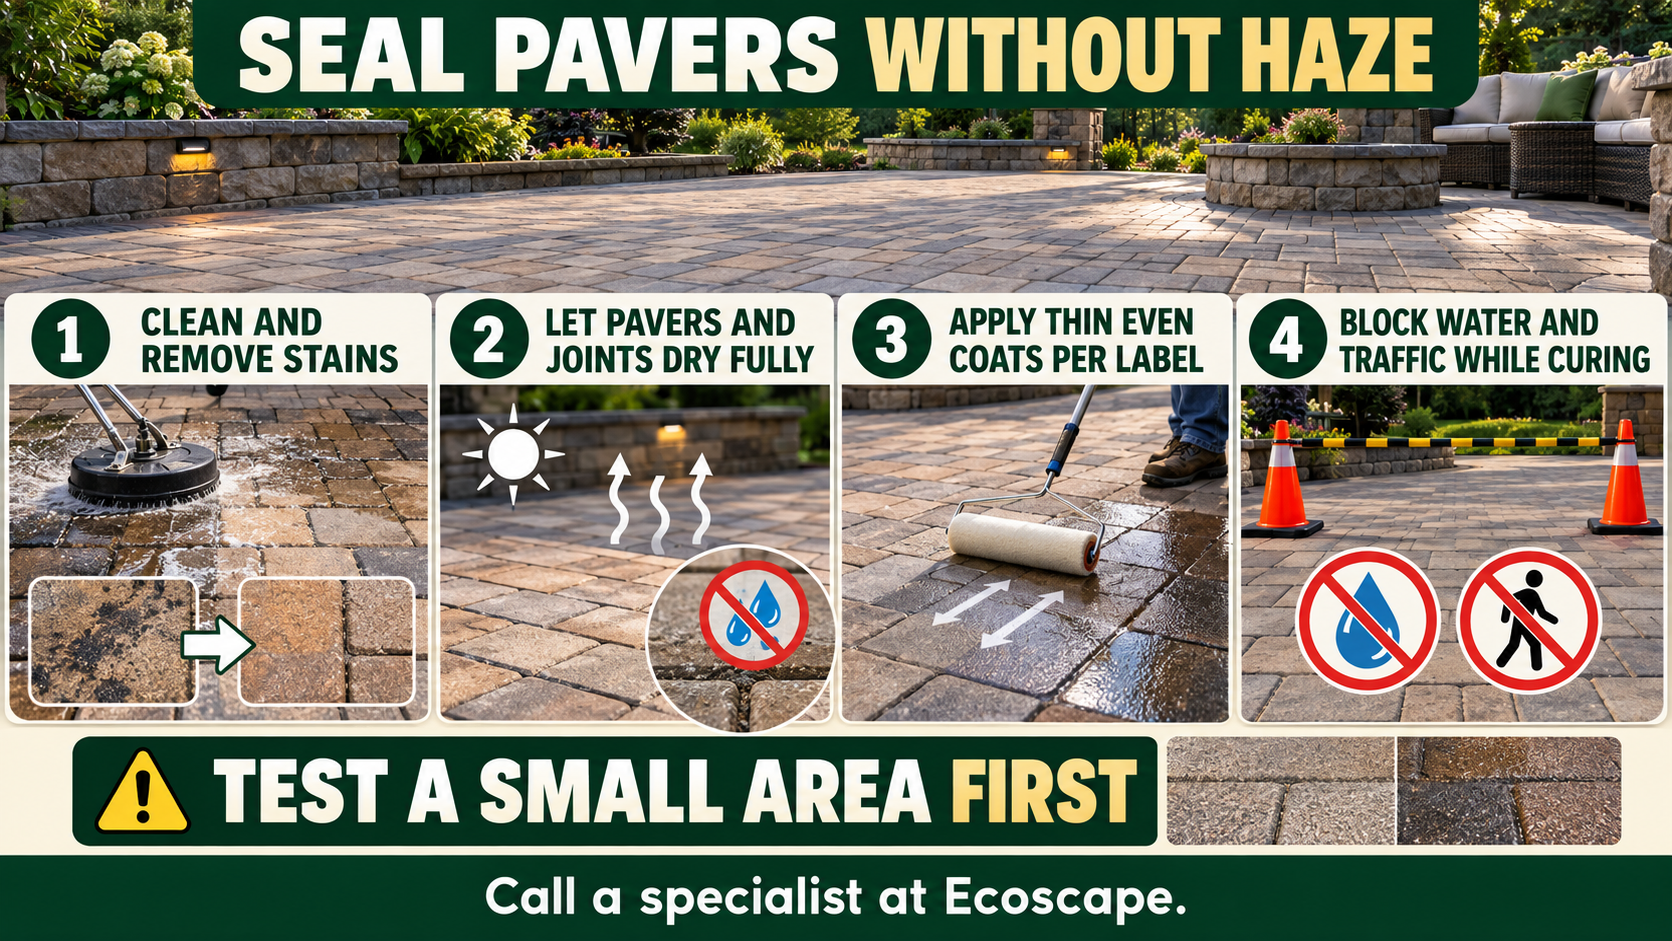
Sweep loose debris and treat oil, rust, organic staining, and white mineral deposits with a cleaner approved for the exact paver and sealer system. Test the cleaner in a hidden area. Rinse thoroughly and protect plants, pool water, walls, metal, and drainage inlets. High pressure held too close erodes the paver face and blasts joint sand away. Do not seal over efflorescence because the white residue remains visible beneath the finish.
Let the pavers and joints dry fully
Moisture is one of the main reasons a clear finish turns milky or hazy. Surface color alone does not prove that joints and the base have dried. Follow the sealer manufacturer's technical data for required drying time, surface temperature, humidity, rain window, and sprinkler shutdown. Florida humidity, afternoon storms, shaded patios, and pool splash slow the process. Reschedule if the weather window does not support preparation, application, and curing.
Repair joints and test the finish
Replace missing or disturbed joint sand with material compatible with the pavement and selected sealer. Keep sand below the paver surface and remove every loose grain. Apply the complete system to a small, inconspicuous test area. Check color, sheen, slip feel, and adhesion after the stated cure time. A test area reveals unexpected darkening or coating incompatibility before the entire driveway, walk, or pool deck is affected.
Apply thin, even coats by the label
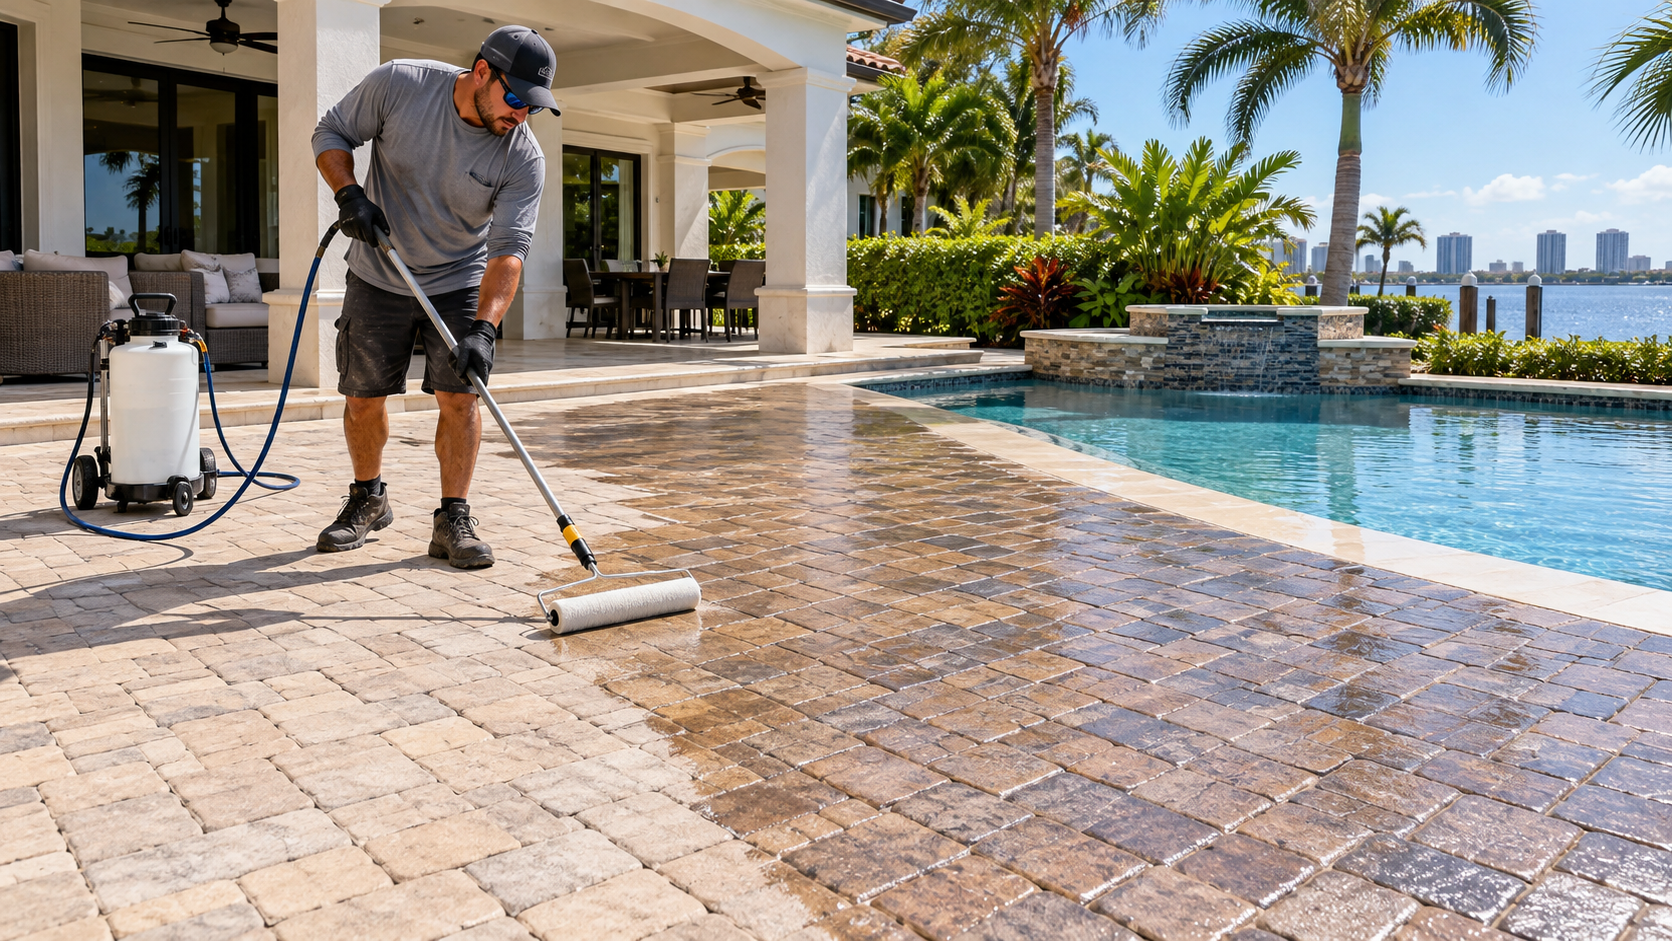
Use the manufacturer-approved sprayer, roller, or applicator. Maintain a wet edge and spread the product at the listed coverage rate. Heavy puddles, repeated passes, and thick glossy buildup do not provide better protection. Remove excess material as directed. Block irrigation, rain, pets, vehicles, foot traffic, and pool splash for the full cure period. Save the product name, batch information, coverage, and date for future maintenance.
Bring in help before a costly mistake
Existing haze, unknown coatings, drainage trouble, widespread efflorescence, and pool-deck slip concerns deserve an on-site review before sealing. Ecoscape Outdoor Services will evaluate the pavers, joints, exposure, and finish goals, then provide a free quote for the appropriate maintenance plan. Helpful reference: CMHA cleaning and sealing guidance.