Stop Low-Head Drainage With Irrigation Check Valves
A Puddle After Shutdown Tells a Story
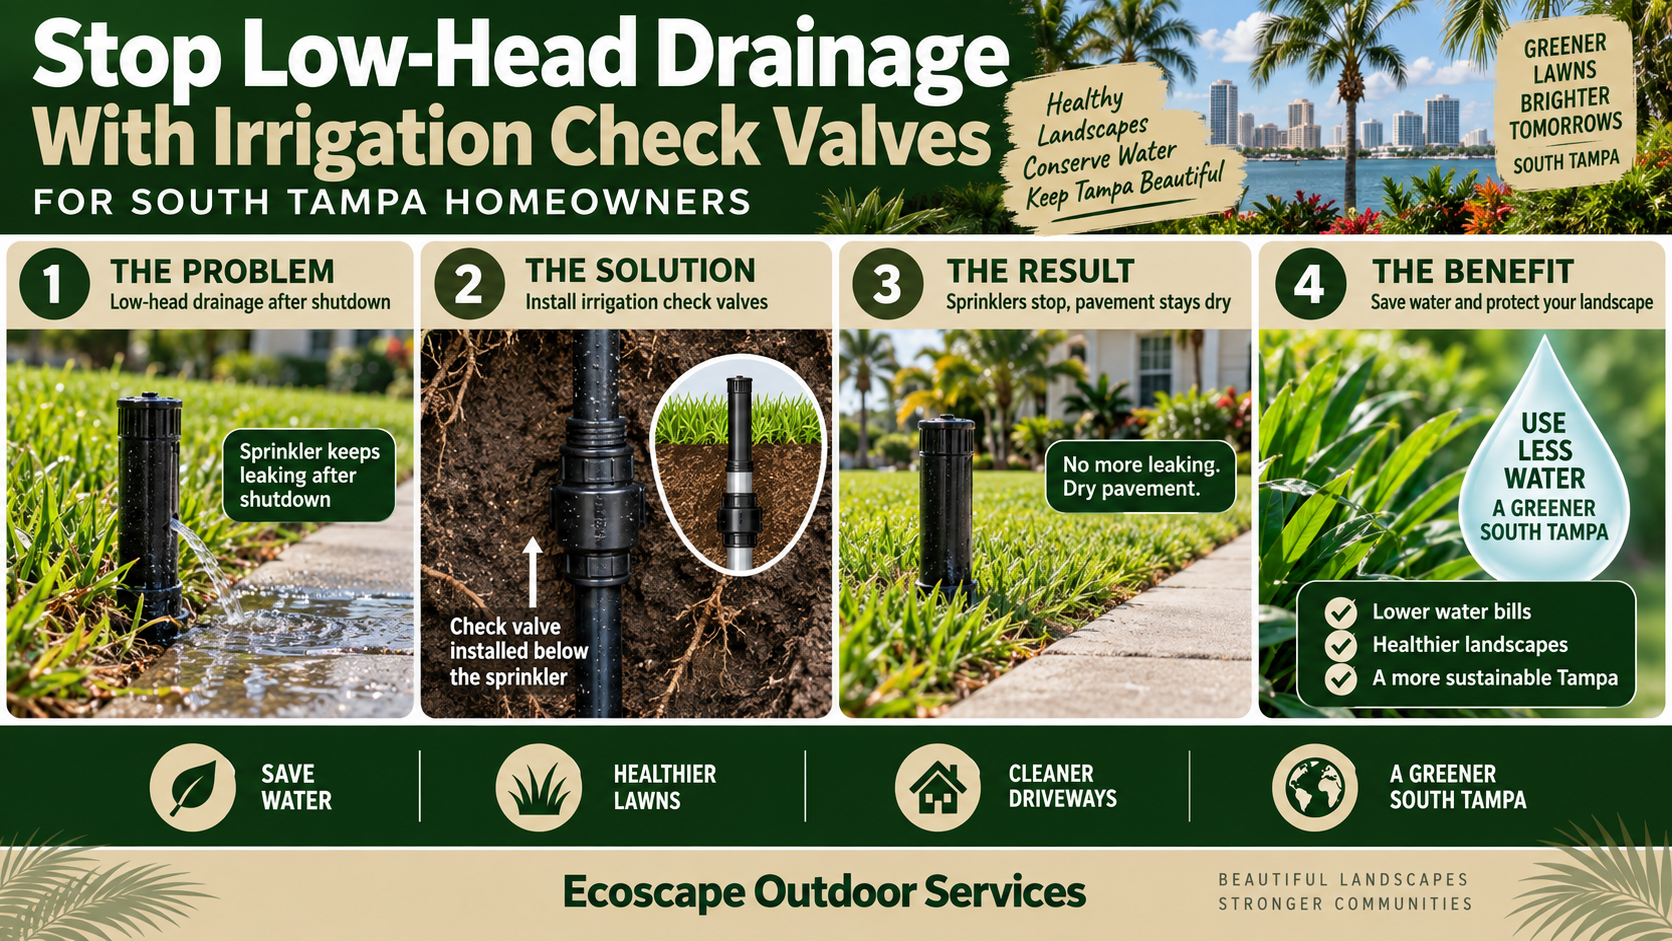
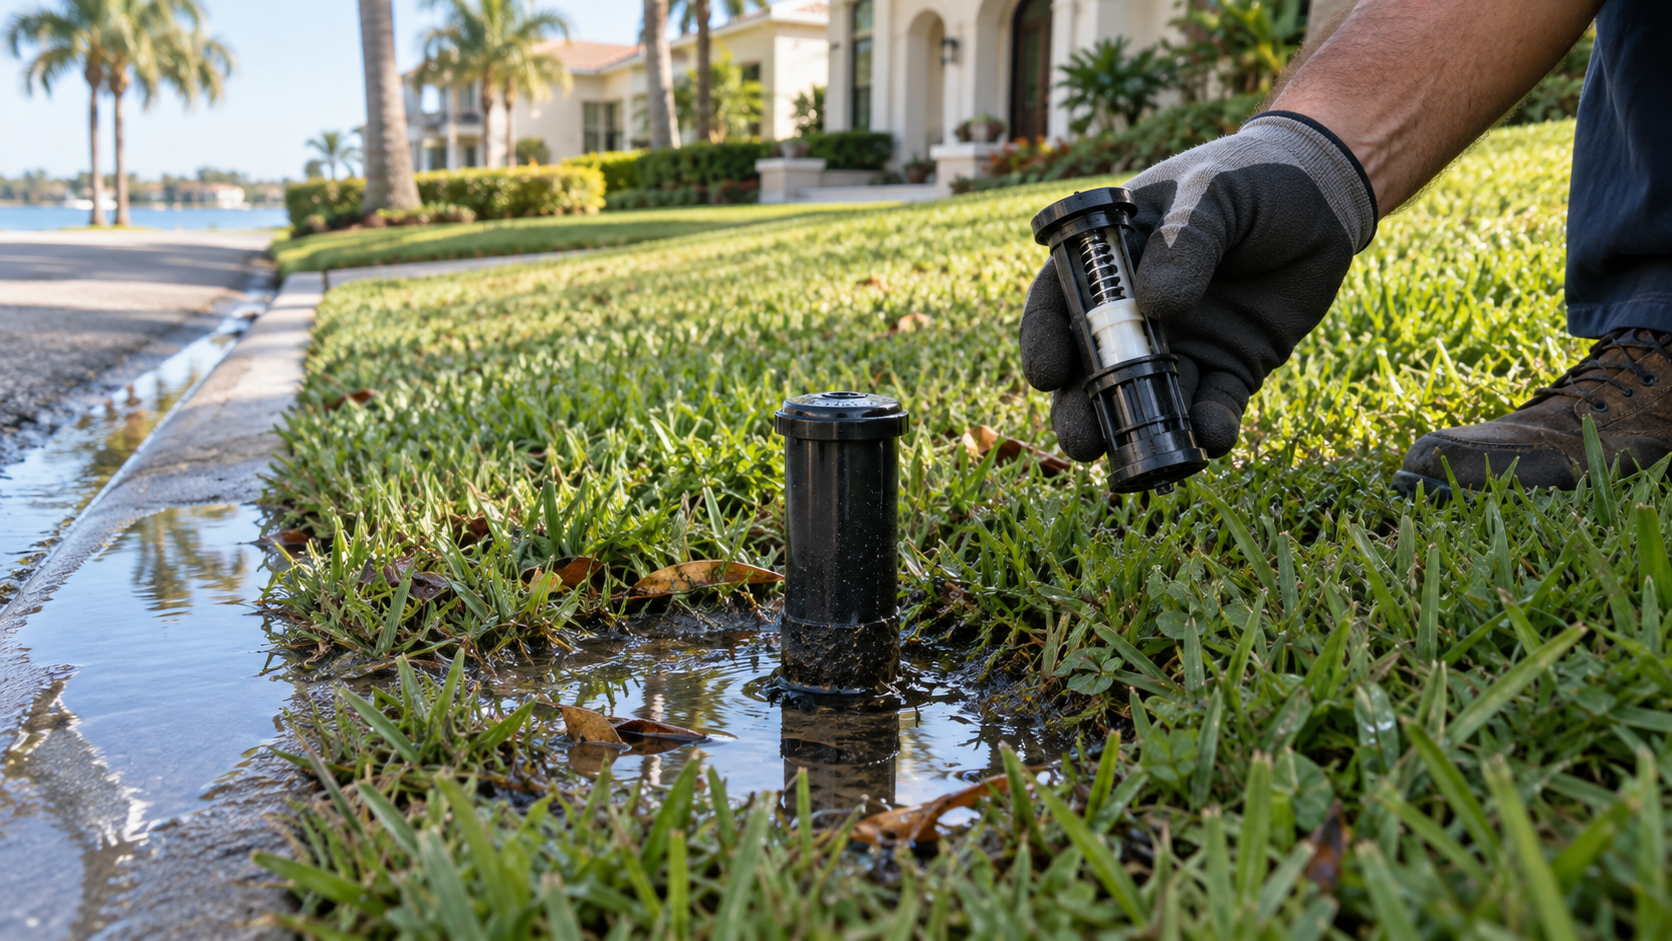
Water flowing from the lowest sprinkler after a zone turns off often comes from pipes draining downhill, not from excessive run time at that location. This low-head drainage wastes stored water, creates muddy turf, stains pavement, and keeps one area wetter than the rest of the zone. Sloped South Tampa properties and raised planting beds make the symptom common. The timing of the flow helps separate drainage from an active leak.
Confirm When the Water Appears
Run the zone and watch the lowest heads after the valve closes. Low-head drainage usually begins as pressure falls and stops after the lateral piping empties. Water that continues for an extended period, appears when the system has not run, or repeatedly refills the area may signal a leaking valve, broken pipe, groundwater, or another source. Diagnose the pattern before replacing parts or reducing the entire zone’s schedule.
Check the Grade and Head Location
Map the high and low points served by the same valve. Inspect whether the wet head sits below neighboring sprinklers, beside a curb, or at the base of a slope. Confirm the body is level and set at finished grade. A tilted or sunken head traps soil and creates a larger puddle. Also inspect the nozzle, seal, body, fittings, and swing joint for damage that mimics normal drain-down.
Use a Compatible Check Valve
A check valve inside or beneath a compatible sprinkler holds water in the lateral line after the zone shuts off. Some heads accept a retrofit insert, while others need a model with an integrated valve. Match the component to the head and operating pressure. Do not improvise with parts that restrict flow or prevent the head from retracting. If several elevation changes exist, more than one low point may need control.
Protect the Entire Zone’s Performance
After installation, run the full zone and verify every head rises, rotates, seals, and covers its intended area. A repair at one low point should not create weak coverage elsewhere. Check pressure symptoms, nozzle size, and precipitation uniformity. Keep soil and debris out of the open body during service. Flush the assembly when appropriate, reinstall the nozzle correctly, and confirm the cap sits at the proper grade.
Recheck After the Next Irrigation
Observe the repaired location immediately after shutdown and again ten to twenty minutes later. The surface should no longer receive a prolonged discharge from stored pipe water. Monitor the turf for several days because saturated soil needs time to dry. If water continues, inspect the zone valve and piping instead of adding another check valve. Document the repaired head so future crews understand why the component was installed.
Correct the Cause Before Turf Declines
Ecoscape Outdoor Services evaluates South Tampa irrigation by zone, elevation, pressure, head type, drainage pattern, and soil response. We identify whether a wet spot comes from low-head drainage, a leaking valve, a damaged fitting, or poor grading before recommending work. Early correction protects turf roots and nearby pavement while reducing wasted water. A small puddle after every cycle deserves investigation before it becomes a permanent thin or diseased area.